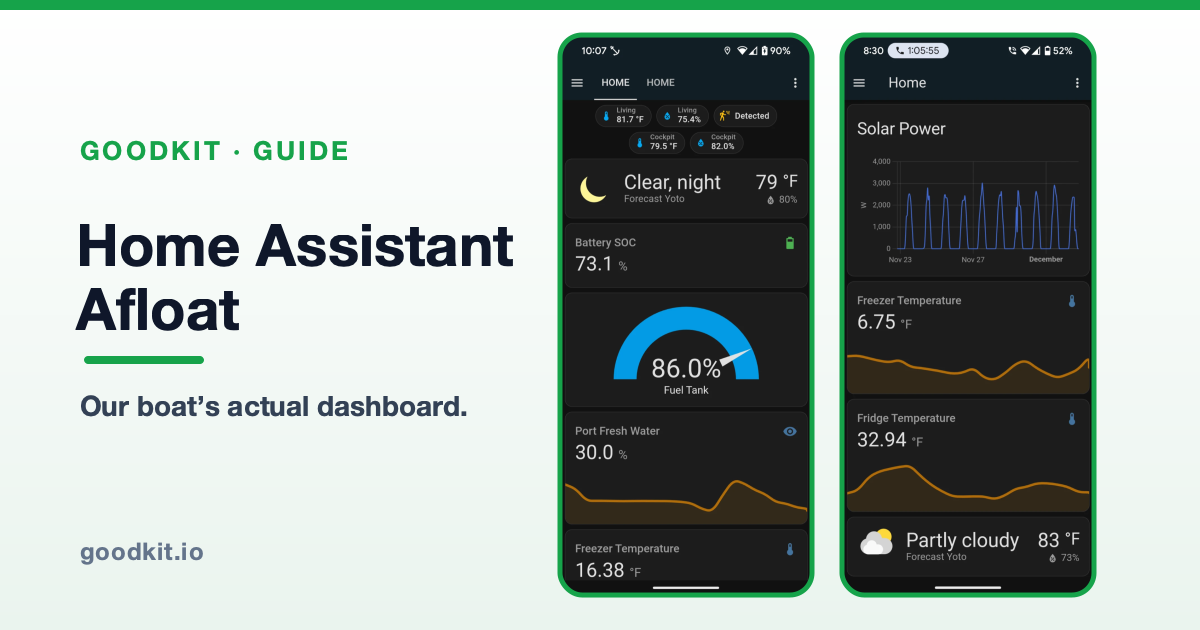
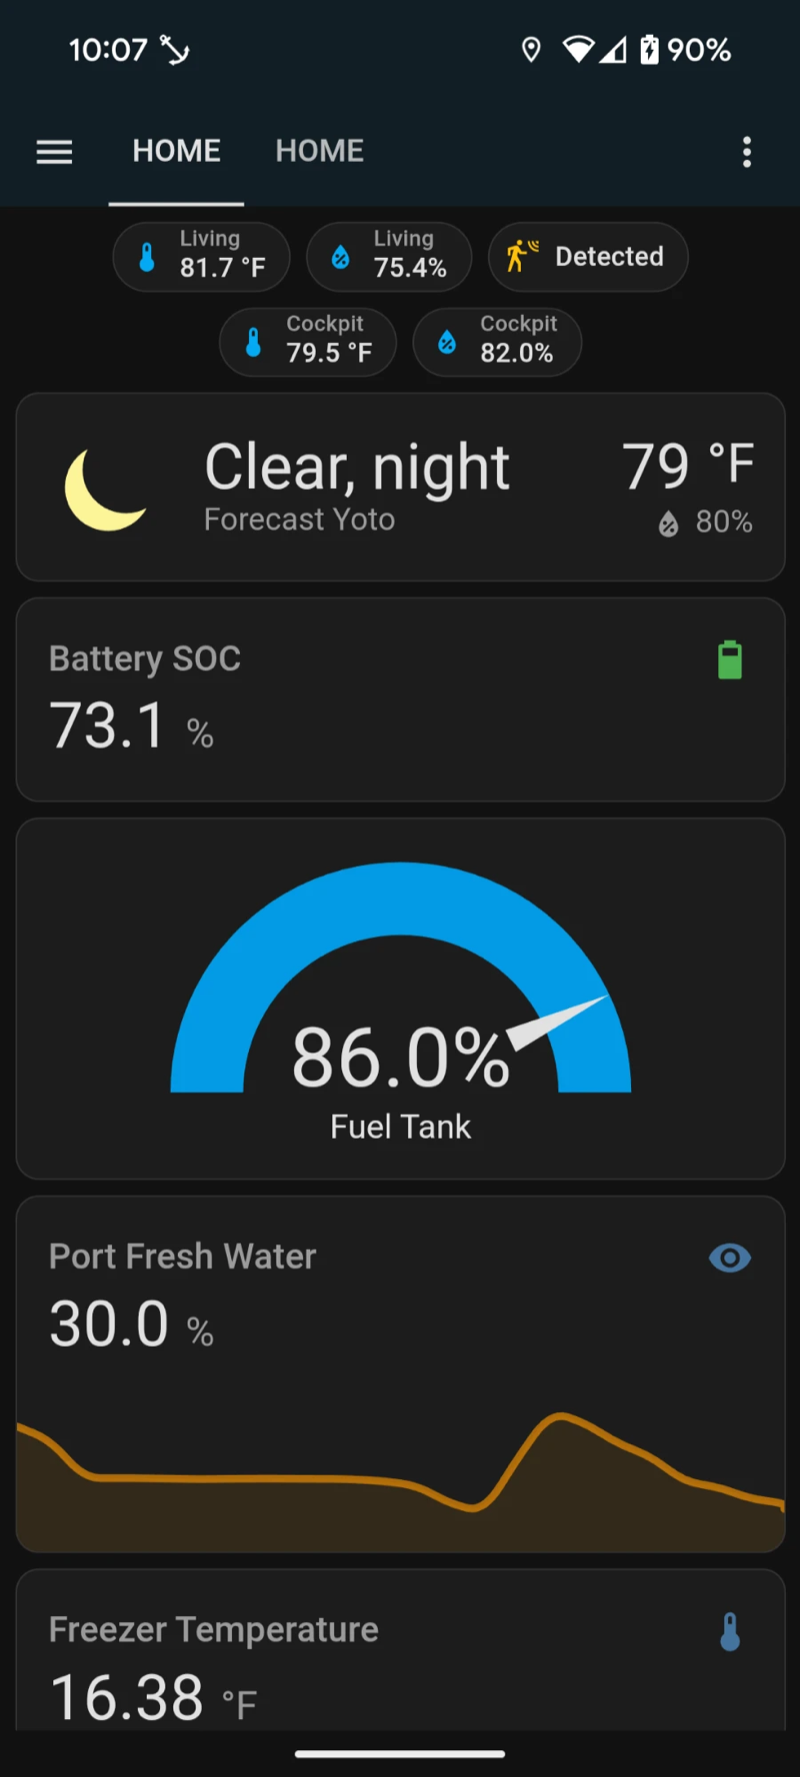
Our boat runs on Home Assistant. The anchor light, the water heater, the battery bank — it all lives in one dashboard, with a handful of automations quietly doing jobs we used to do by hand. If you live in an RV or on a boat, Home Assistant is the closest thing there is to hiring a crew member who works for free.
It has a reputation for being a tinkerer's rabbit hole. It can be. But getting to genuinely useful is easier than you have heard — especially now, because the hardest part of Home Assistant has quietly disappeared. More on that at the end.
Why Home Assistant (Especially Off-Grid)
Home Assistant is free, open source, and — the part that matters for us — it runs entirely locally on a little computer you own. There is no cloud in the loop. At anchor with no cell signal, or boondocking miles from a tower, every automation keeps working. Smart-home products that phone home to a server somewhere are a bad fit for people who are frequently nowhere. Home Assistant doesn't care.
It also speaks the weird mix of gear our world runs on: Shelly relays, Victron solar and battery equipment, tank sensors, GPS from your phone. Nothing else ties all of that together.
The Hardware You Need
Any always-on computer works. The usual pick is a Raspberry Pi or the plug-and-play Home Assistant Green box — about $100 either way, and they draw just a few watts, which a house bank won't notice running 24/7. Ours runs straight off the 12V system; we covered the clean way to power small DC electronics like this in our Home Assistant and Shelly on 12V DC guide.
Install and First Boot
Installation is genuinely simple: flash Home Assistant OS onto an SD card or SSD following the instructions at home-assistant.io, plug it in, and open homeassistant.local:8123 in a browser. Create an account and follow the onboarding. Budget half an hour.
The nice surprise: it finds things on its own. Shelly relays on your network show up and ask to be adopted. You are not configuring from a blank page — you are mostly saying yes to things it already discovered.
The Integrations Worth Adding First
- Shelly — the workhorse relays that switch your actual circuits. Compact and useful, provided the exact model’s supply and DC contact ratings match the circuit. Our Shelly on a boat writeup covers which ones and why.
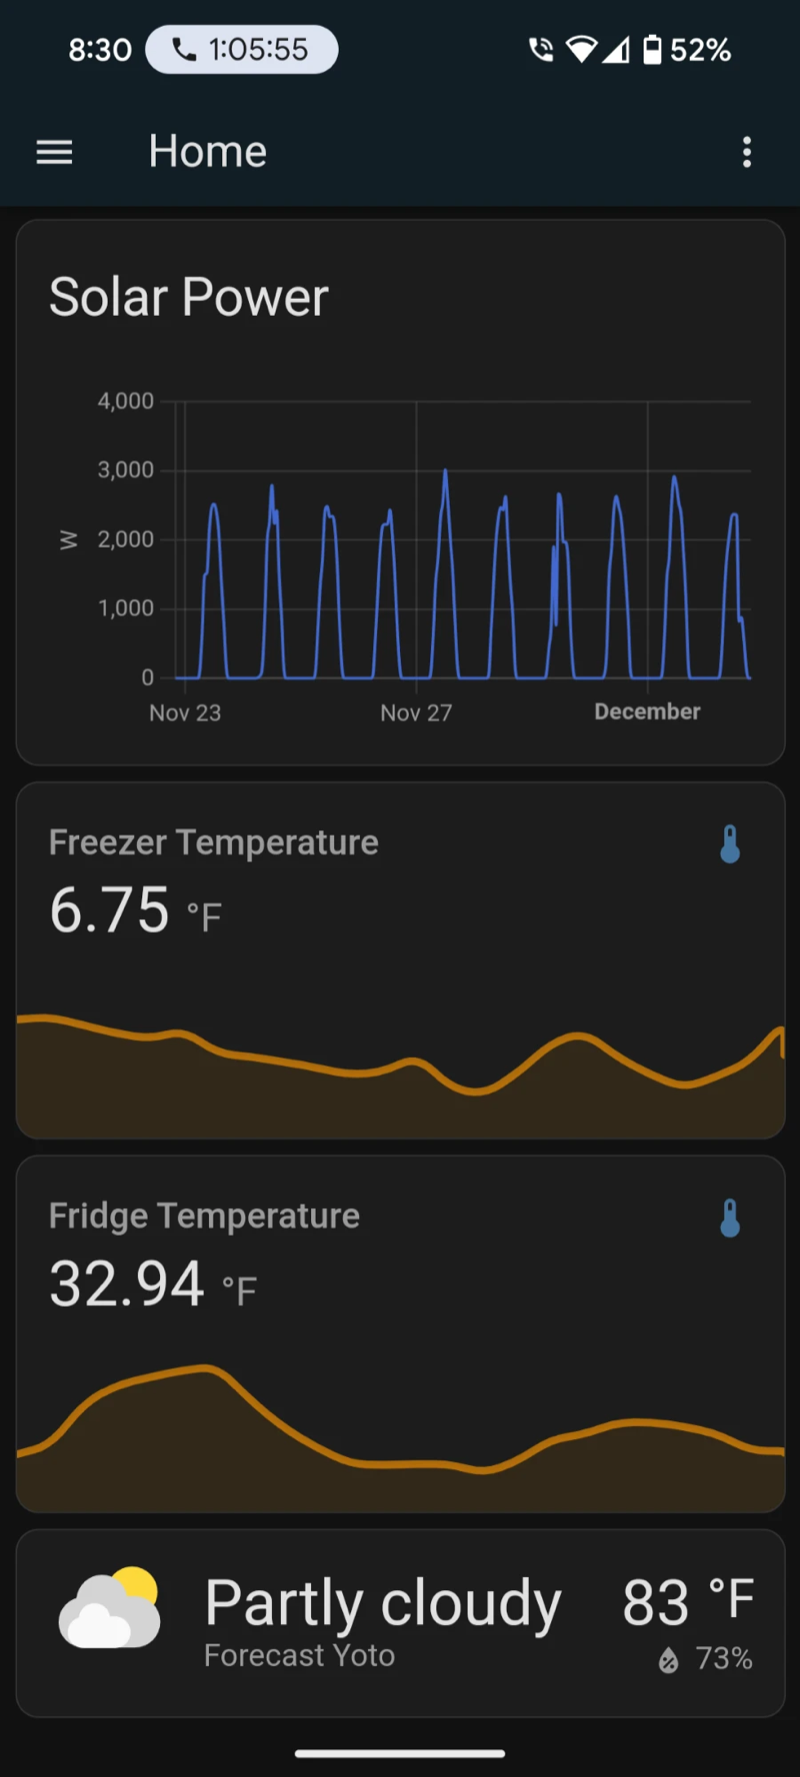
- Victron — if you have a Cerbo GX or other GX device, Home Assistant can pull in battery state of charge, solar output, and loads. Our Cerbo GX setup guide gets you to that point.
- The companion app — put Home Assistant on your phone and you get two big things: notifications from your automations, and presence (the boat knows whether you are aboard).
- Tank sensors — RVers, if you have Bluetooth senders like the ones in our tank monitoring roundup, they feed straight in.
First Automations That Earn Their Keep
Skip the party tricks. The automations worth building are the ones that delete a recurring chore or catch a problem while it is still small. These are the ones we actually run:
- Anchor light at sunset. On at sunset, off at sunrise, never touched again. We still check that it is operating and retain independent manual control. We wrote up the whole thing in our anchor light automation.
- Hot water from surplus solar. When the batteries are full and the sun is still working, dump the extra into the water heater. Free hot showers from electrons that had nowhere else to go — full writeup in our water heater automation.
- Low battery alert. State of charge crosses a threshold, your phone buzzes — while the fix is still easy. Pairs with real monitoring; see what actually works for battery monitoring.
- Tank warning. Fresh water low or black tank high — get told before it becomes an emergency instead of after.
The AI Shortcut: Stop Writing YAML
Here is the part that changed everything for us. Home Assistant automations are written in a configuration format called YAML, and learning its syntax used to be the wall people quit at. My new favorite way to build automations: don't write them. Describe them.
Open your favorite AI — Claude, ChatGPT, whichever — and type what you want in plain English: “Write a Home Assistant automation that turns on switch.anchor_light at sunset and off at sunrise.” Paste the result into a new automation using Edit in YAML. In our experience it works on the first try more often than not, and the fix is one follow-up message when it doesn't.
Three habits that make it nearly foolproof:
- Give it your real entity names. Copy them from Developer Tools → States. “switch.water_heater” gets a working automation; “my water heater” gets a guess.
- Paste errors back. If Home Assistant complains, feed the AI the exact error. It fixes its own mistakes.
- Say when it should NOT run. The conditions are where automations get smart — “only if we're aboard,” “only if the battery is above 80%.” Describe the exceptions and the AI handles the logic.
Ask it to explain the YAML it wrote and you will learn the system faster than any tutorial ever taught it. The learning curve didn't get smaller — it got optional.
The Bottom Line
Start with a non-critical automation, verify it, and build from there. Test AI-generated configuration before using it, and keep essential equipment independently operable.
Hardware to get started
Home Assistant itself is free. The Green is the simplest plug-and-play option; a Raspberry Pi is the more flexible DIY route.
Affiliate disclosure: As an Amazon Associate I earn from qualifying purchases.