How to Replace Your RV Waste Valve
Before You Start
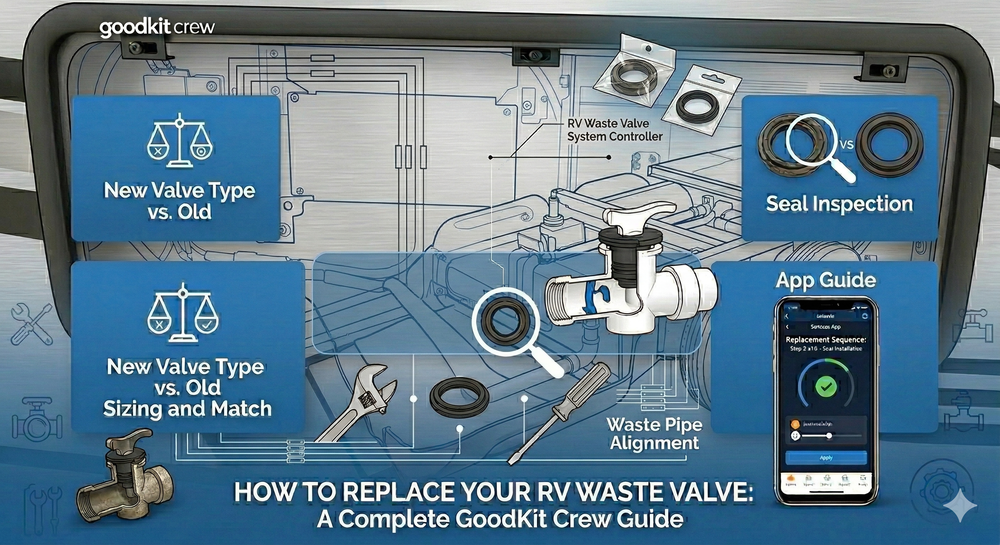
Replacing an RV waste valve is a straightforward job if you prepare properly. The process differs significantly depending on whether you are replacing a standard gate valve or swapping a Twis-Loc seal.
Tools Needed
- Screwdriver (Phillips and flat)
- Channel-lock pliers
- Replacement valve or seal
- Sewer-rated silicone lubricant
- Bucket and towels (trust us)
- Nitrile gloves
- Pipe thread sealant (for gate valve replacement only)
Preparation
- Dump and flush your tanks completely. Run clean water through the system until it runs clear.
- Close all valves and disconnect from the sewer connection.
- Place a bucket under the valve area. There will be residual water.
- Put on gloves. This is non-negotiable.
Gate Valve Replacement
Replacing a standard gate valve requires disconnecting the plumbing on both sides of the valve body. This is the more involved procedure.
- Support the pipe on both sides of the valve to prevent stress on the plumbing.
- Loosen the fittings on both sides of the valve. If they are cemented ABS, you will need to cut the pipe.
- Remove the old valve body.
- Clean the pipe ends thoroughly.
- Apply pipe thread sealant or ABS cement to the new valve connections.
- Install the new valve, ensuring the handle orientation allows full operation.
- Allow cement to cure per manufacturer instructions before using.
- Test with clean water before connecting to the sewer.
Important: Do not overtighten plastic fittings. Plastic threads crack easily. Hand-tight plus a quarter turn is usually sufficient.
Twis-Loc Seal Replacement
This is the easy one. If you already have a Twis-Loc valve body installed, replacing the seal takes about 5 minutes.
- Open the valve fully.
- Remove the 2 screws holding the top cap.
- Pull the old seal straight out.
- Apply a thin coat of sewer-rated silicone lubricant to the new seal.
- Drop the new seal in with the hole aligned to the open position.
- Replace the top cap and screws.
- Cycle the valve a few times to seat the seal.
That is it. No plumbing disconnection, no pipe wrenches, no mess. Five minutes and done.
Replacement Twis-Loc seal - $24.99 at Dupree Products
Upgrading to Pneumatic
If you want remote-operated valves, the Twis-Loc can be fitted with a pneumatic actuator. This gives you push-button control from inside the coach. The actuator bolts onto the existing valve body, so no plumbing changes are needed.
Maintenance Tips
- Lubricate annually: Apply sewer-rated silicone to valve seals once a year.
- Replace proactively: Do not wait for a valve to fail. Replace gate valves every 3 years and Twis-Loc seals every 5-7 years as preventive maintenance.
- Use enzyme treatments: Monthly enzyme treatments keep waste from building up on valve surfaces and extend valve life.
- Never force a stuck valve: If a gate valve is stuck, apply lubricant and work it gently. Forcing it can crack the valve body or break the handle.